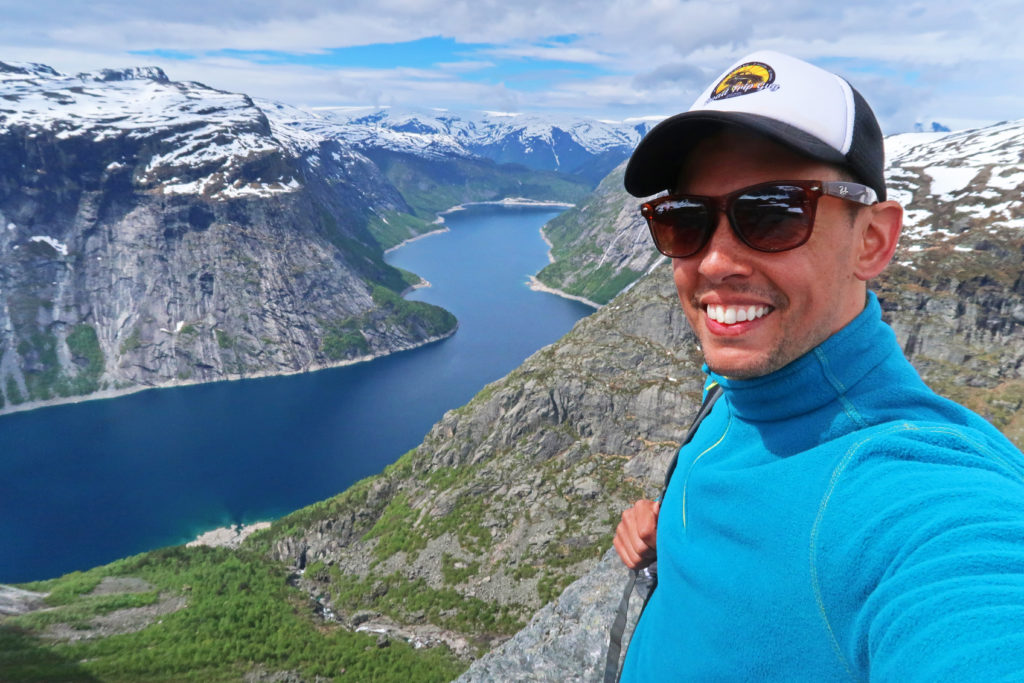
Hiking the famous Trolltunga had been on my bucket list for a long time. I had seen many photos and videos of people standing on the well known rock, which is located in the municipality of Odda in Hordaland county. Trolltunga (meaning troll tongue) can be found on the northside of the beautiful Ringedalsvatnet lake at 700 meter high.
After informing with several hiking companies regarding guided tours and the prices I decided to do the hike solo. The price for a guided hike was on average 1,300 NOK (€ 130 / $ 140) per person. The problem was that non of the operators had started their season.
I always recommend putting safety first, but I was not going to let this chance pass me by because no guides were available. As a result, I developed my own guide to solo hiking the Trolltunga.
Table of Contents
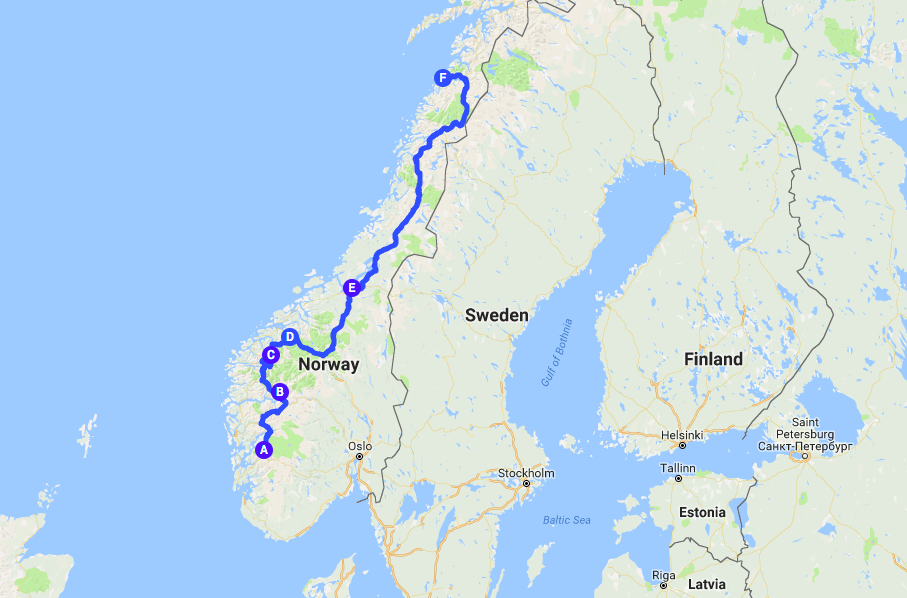
How to get there?
The hike path starts at the little village of Skjeggedal. From Odda this is about a 15 minute drive with the car. Once arrived in Skjeggedal there is a large parking lot. The cost are 300 NOK (€ 30 / $ 33) for 12 hours and 600 NOK (€ 60 / $ 66) for 24 hours. It might seem expensive, but they use the income of the parking for maintaining the hike route and support nature conservation in the area.
There are a few restrooms on the parking lot, but they are not the cleanest so if you have to go do it in the hostel/hotel.. or find a nice big bush to hide behind! I started my hike at 5 AM to make sure I had enough time and to prevent for having to stand in line once I was at Trolltunga.
Preparation for the hike
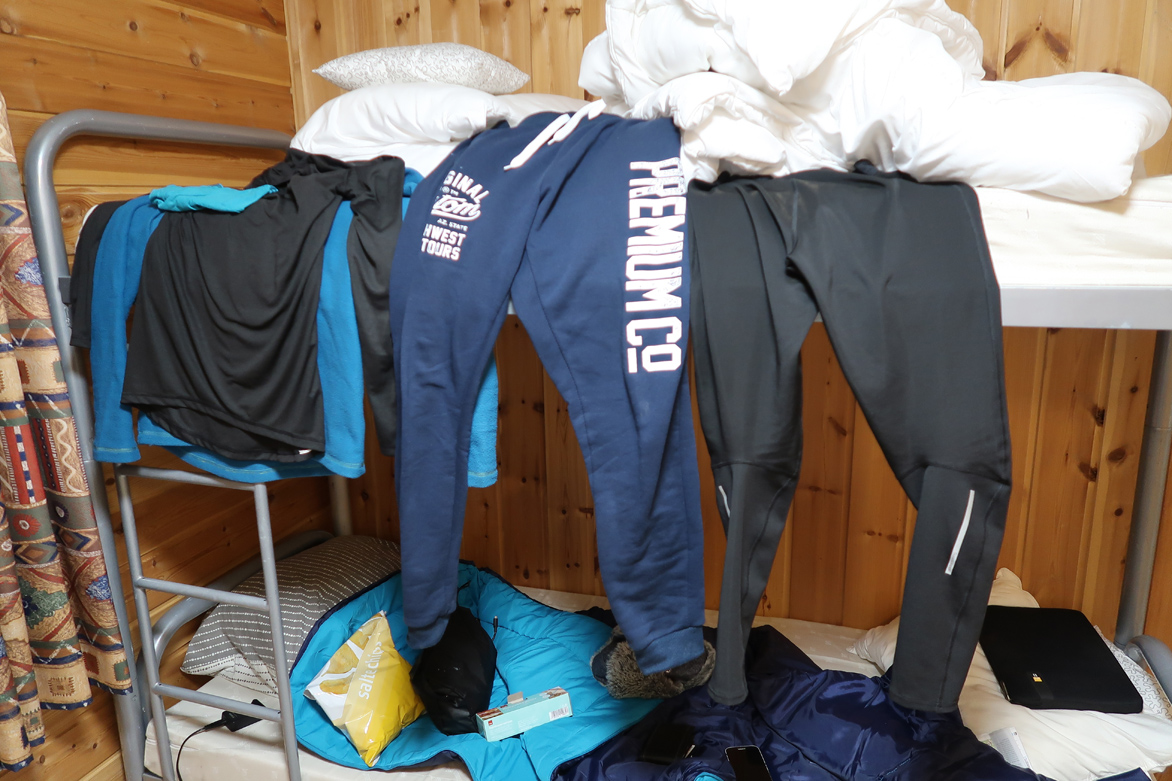
A lot of research had been done before hand to make sure I was prepared for this hike. Double checking on everything is recommend to avoid unpleasant surprised along the way.
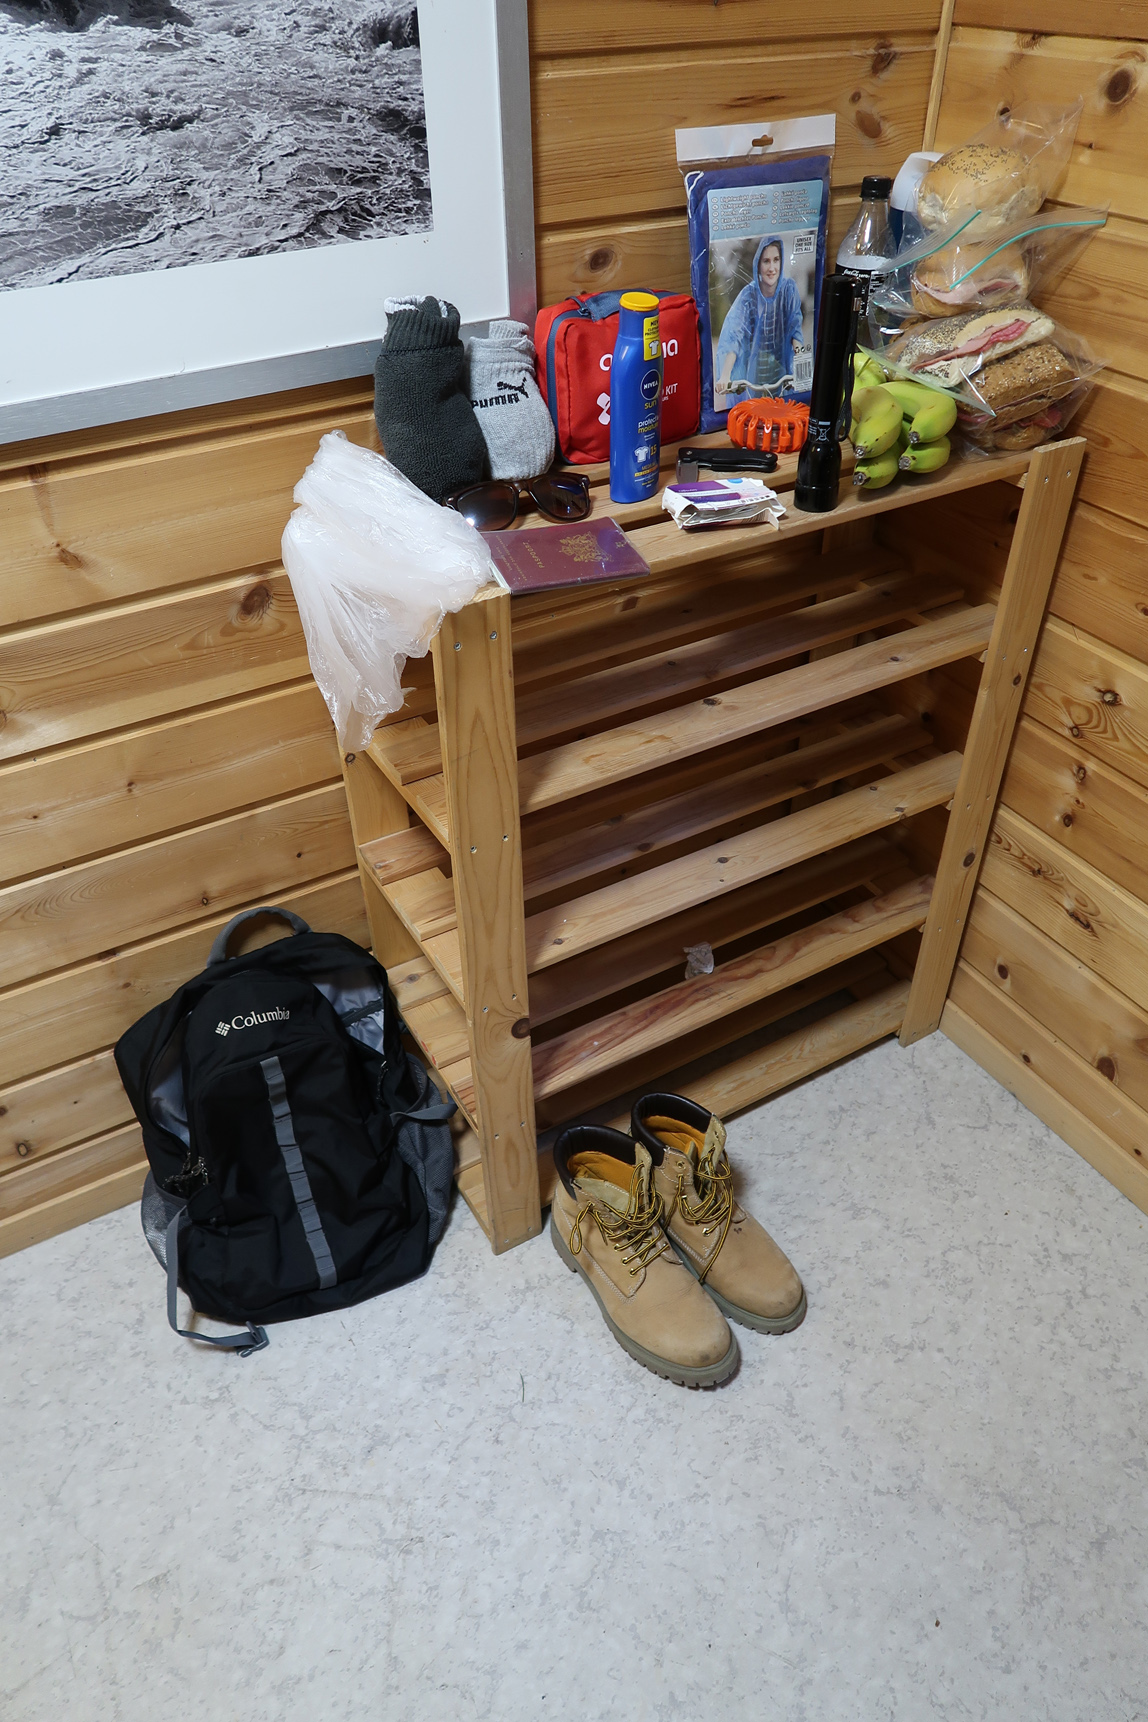
My supply list:
– 6 meals + 6 bananas( +- 4500 calories )
– High quality dry bags
– 2 litre of water. Refill can be done at any stream with running water
– Pocket knife
– Compass
– 4 pair of dry socks
– Extra pair of dry pants
– 1 extra t-shirt
– 1 extra hat
– Thermo shirt and pants
– Fleece sweater
– First aid kid + red alarm lights
– Medication
– Fully charged cellphone + battery pack
– Fully charged camera + gorilla pod
– Flashlight
– Sunblock
– Notifaction to family, friends and reception about my hike plans and gave them each others contact details
For a more detailed list, I recommend you check out this page. It is a very detailed hiker’s buyers guide that will help you prepare for your next trip!
The Route & weather conditions
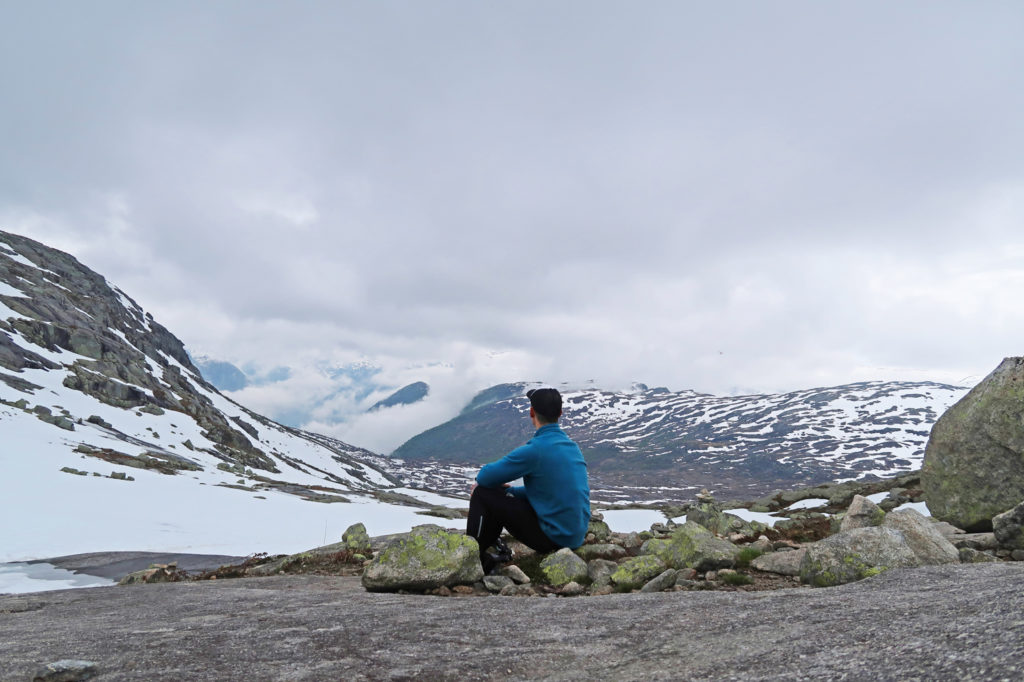
Once arrived on the parking lot you will see the clear signs on where the hike path starts. The first 1.5 km is a pretty steep climb up the mountain and a lot of people already end their attempt to hike the Trolltunga within this first 2 km. Just take it step by step and be careful about lose rocks. After the steep climb you will get the a flat plateau where the first rescue cabin can be found. You will have about 500 meter of nice and comfortable walk with small rivers before another 1.5 km of steep hill and lose rocks will start. You will be on top of the valley and in May (when I did it) here at the 3 km mark the snow starts..
A lot of it.. at least 2 feet deep for the remaining 8 km of the route!
This is why it is so important to bring dry socks, waterproof/resistant shoes. Extra plastic bags on your feet also helps. Trust me.. you will thank me later!
Tricky parts
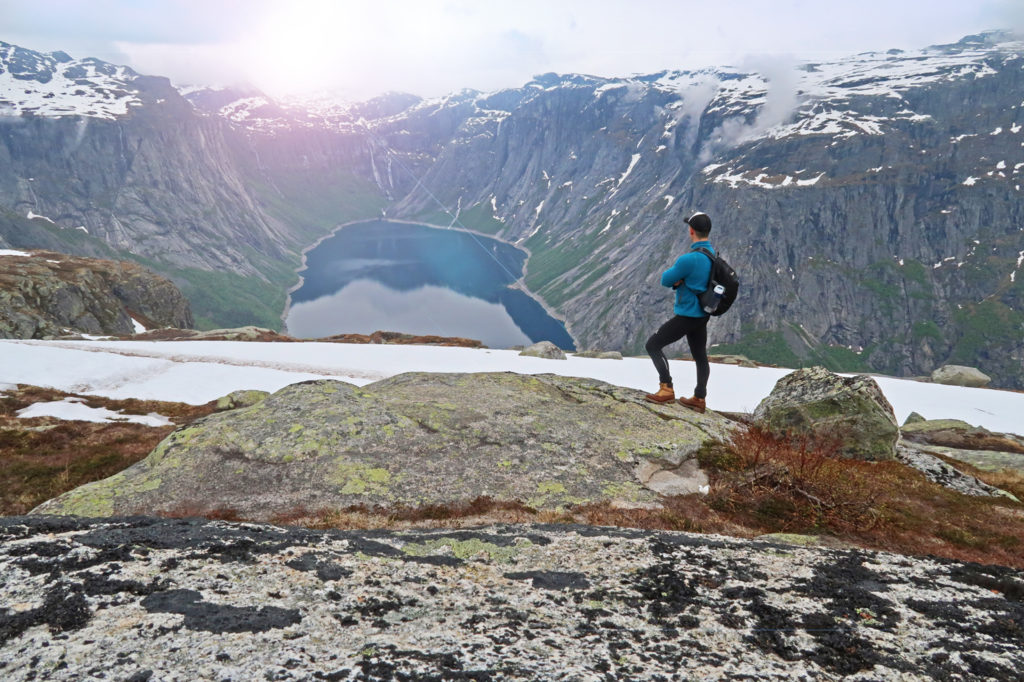
Once you get to the 8 km mark of the hike you will start to notice deep snow along some tricky ledges. I have seen several people slide down for a few meters, because they walked 3 feet next to the path. Stay on the path that the previous hikes already carved out in the snow at all times. The entire route has been marked with large signs or red arrows or rocks with the letter “T” marked in red.
I kept track of the weather by using the YR weather application. This application shows accurate updates of the weather and actually saved me from cancelling this whole tour after using google weather before. Another good thing for all you social media addicts out there.. I had 4g internet the entire way! So, you can even call your family and friends when you are standing on the Trolltunga to have an awesome skype session. 😉
If the weather is bad I recommend you wait a few days until it clears and check out this page of fun things to do in Odda.
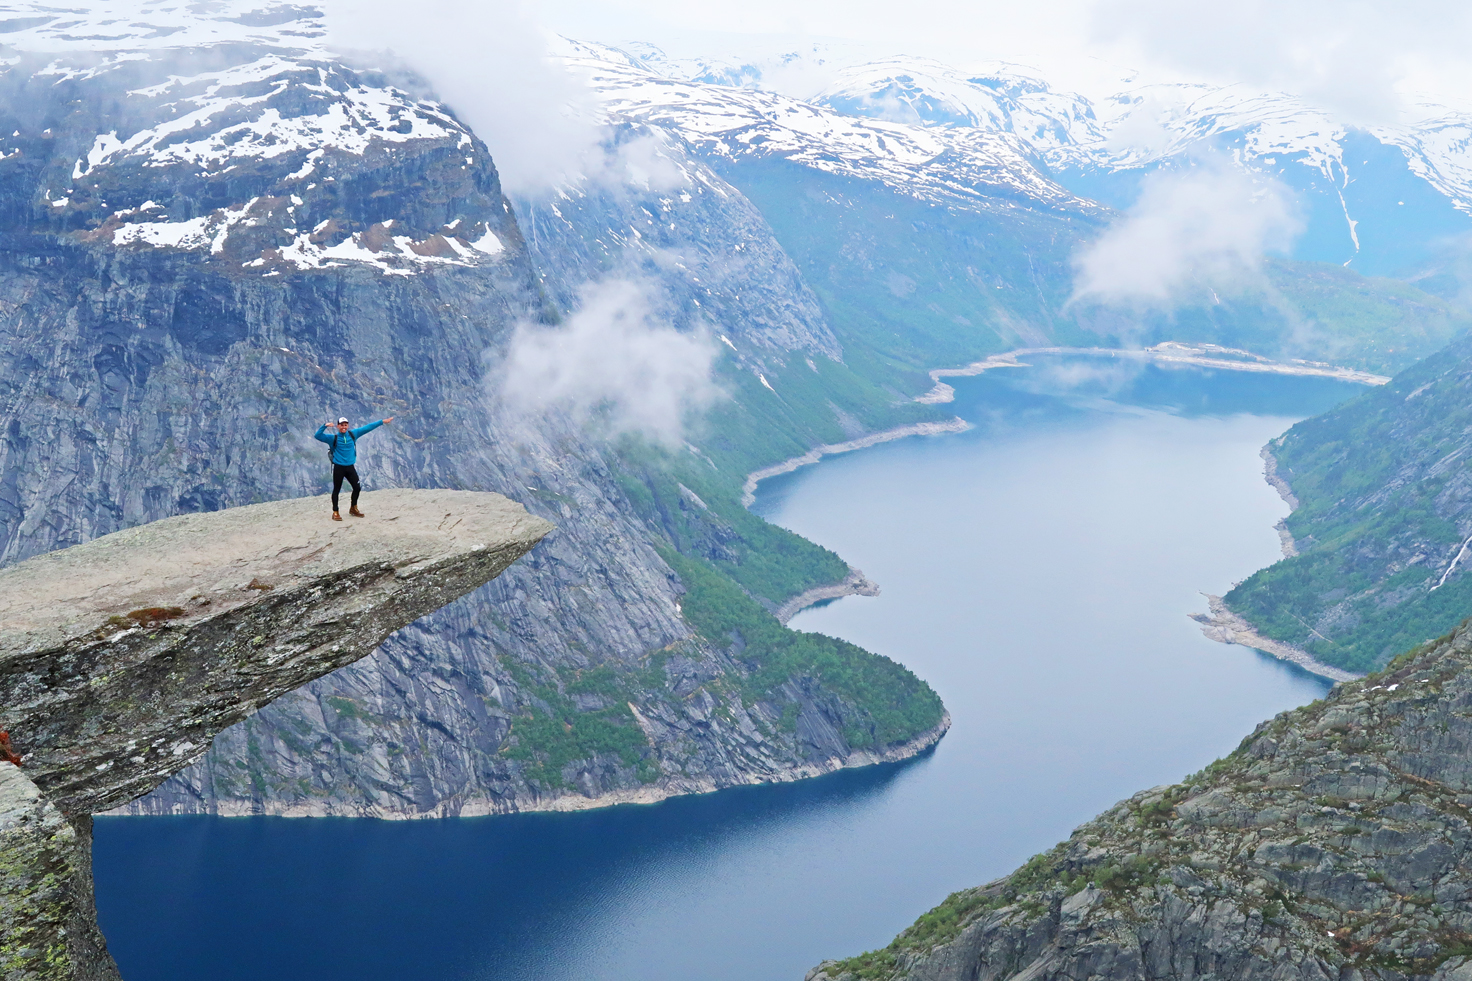
Made it! Arriving at Trolltunga
I arrived at 11.45 after 6.45 hours of hiking. That was not to bad considering I included a long break to get some food in. Just before you reach the rock keep in mind that the 9 km sign is missing! So if you feel that the last 2 km’s are horrible it is because you are doing 3! Don’t worry about that! Keep pushing, you are almost there!
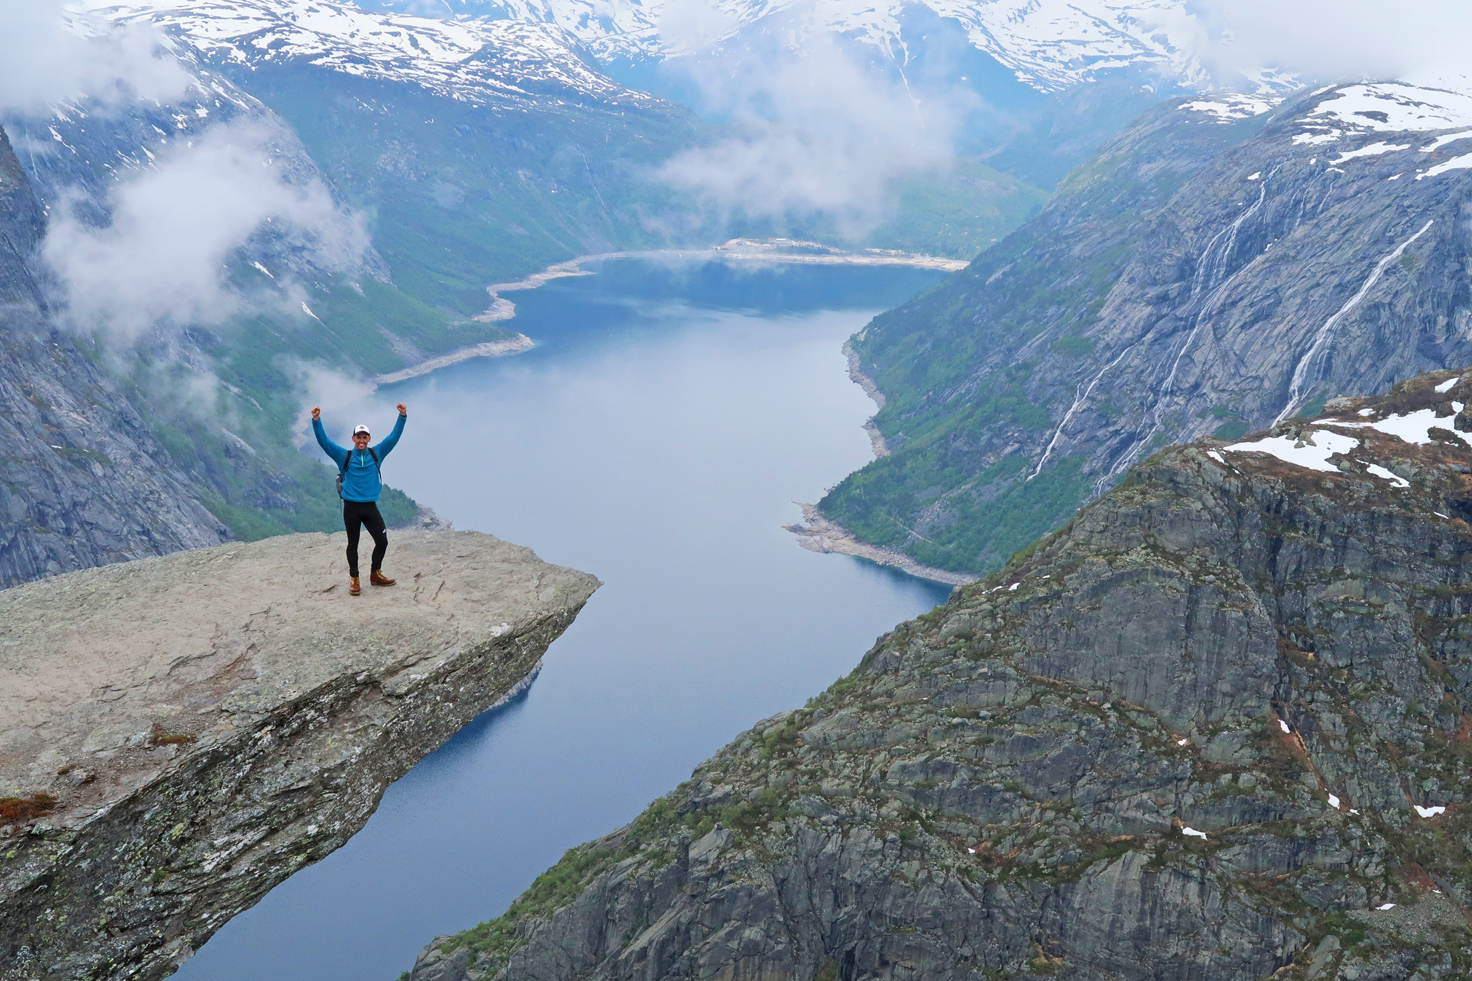
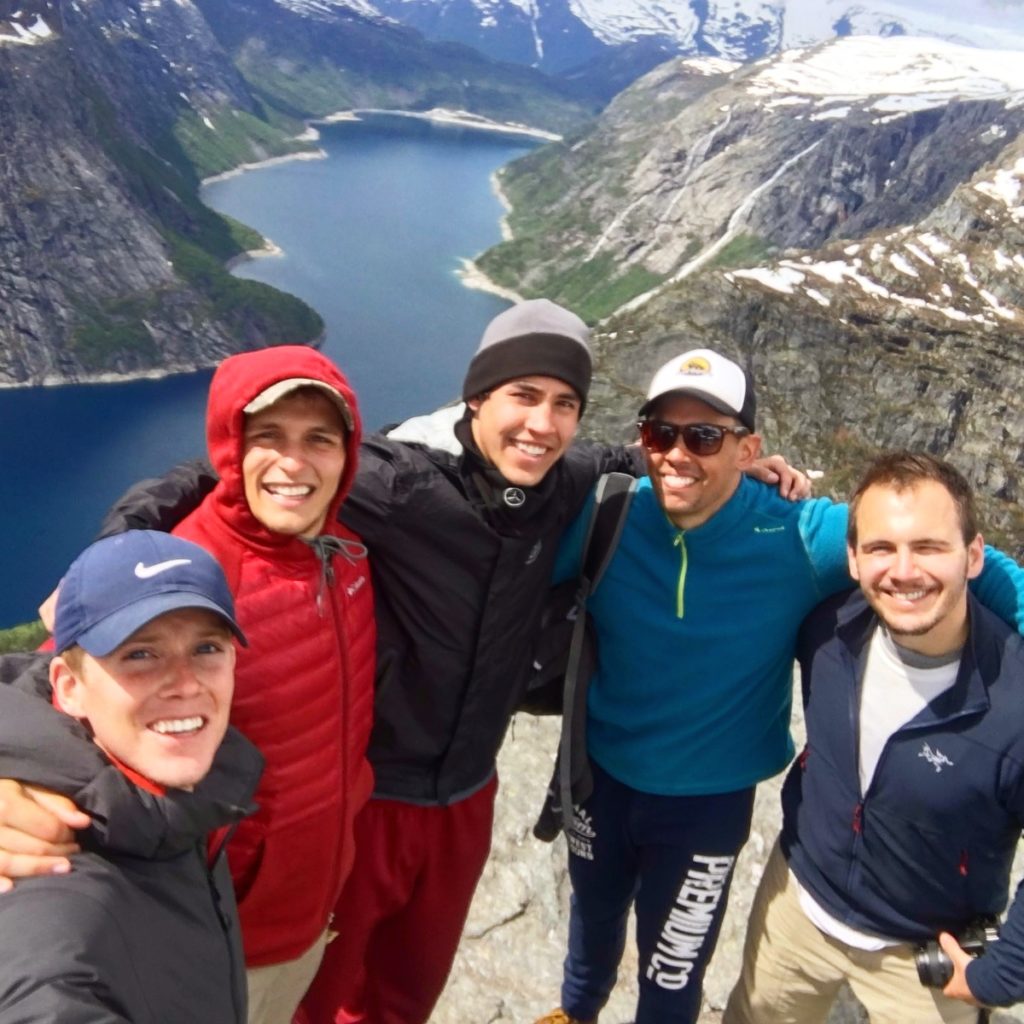
Once I arrived I saw about 7 people at the rock! It is apperntly also possible to camp at Trolltunga so there was a small village set up and everybody was laughing and taking pictures. I was insantly taken in the group and met 5 great American guys who I hanged out with during my stay at TrollTunga. There are 2 famous spots you can choose from to take the best pictures and those are both from the right side of the rock. It is super easy and you can easily tell once you are there. If you have a small drone, bring it! Till this day I am still a bit upset I did not bring mine, but the phantom 3 is pretty big and it is a long long hike.
I stayed for 3.5 hours and made some great new friends and had a good lunch with many funny stories. Clean up your mess afterwards and enjoy the beauty Trolltunga has to offer. You probably never want to leave again but unfortunately all good things must come to end. So the journey back was investable and after drying your wet socks and changing to dry ones I started the hike back with 4 new friends.
The way back
Do you know the saying; The way back is always easier? That is indeed correct. The pace with the guys was good and I think within 2 hours of hiking we were already halve way there. After the snow has cleared (which is the after 8 km of the way back ) you will have to climb down lose rocks and river beddings until you get to the steep stairs downhill to the parking lot. This last 3 kilomter is actually the most dangerous of the whole trip. You are already tired, your legs are busted and you kind move in a state of mind where you are not paying much attention to your surroundings. If have seen a lot of people twists their ankles (including me twice) for missteps on rocks. Please keep a close eye on where you put your feet. You have much more momentum and force behind when climbing down and a mistake is easily made!
My thoughts
What a great adventure and I am so happy I did it. Yes it takes a great deal of preparation, physical fitness and common sense, but other then that the hike is very manageable. I had beautiful views a long the way and the shot from Trolltunga was totally worth it. If you do want some feedback this is what I learned during my hike;
- Shoes shoes shoes. Good shoes and dry socks are more important than water on this hike!
- Don’t do this hike as a couple, unless you have a very strong relationship. I have seen at least 3 breakups and 2 divorces happening along the way, lol!
- Don’t be shy and talk to the people you meet along the way. You are all there for the same purpose and who knows, you might actually meet some awesome people!
I would like to thank Forrest, John, Jake and Austin for sharing their adventure with me. It was a great hike and was an honour meeting you guys on top of Trolltunga and hiking the way back.
One thought on “My Guide to Solo Hiking the Trolltunga”
Comments are closed.